January 15, 2015

Starting to prepare for "A Month of Letters" 2015

So, we're half way through January which means February is fast approaching, and with it "A Month of Letters" Challenge, or as I normally refer to it due to the website address "LetterMo". The challenge, put out by Mary Robinette Kowal, is to send a piece of mail every day the post office picks up, or every day except Sundays & President's day.   This will be, I think, the third year I've participated in this great project.  Last year I put mail in the box all those days, but they didn't get picked up a day or two due to weather!

So, I'm trying to get ready.  So far I've succeeded in printing out a calendar for the month and started making notes of whom I wish to write and when and started to see cards I have, and which I may still need to get.  Today's project is updating our family's address list, so I have the info I need.

So, are in for LetterMo this year?  If so, have you started your preparations?

January 10, 2015

Smiles Sent Saturday~January 10, 2014

I have for sometime been fascinated by the idea of mailing things without a box.  One place I've enjoyed reading is The Giver's Log's Happy Mail.  She shares a number of things she's mailed just with first class postage as they were under 13 oz.  I haven't done much of that yet, but to celebrate the start of the year I mailed to some family members calendars that reminded me of them.  I doubted that the thing plastic film that held them would make it through the mail, so I taped around all the edges with packing tape, and for the full sized one I also wrapped a strip of tape around it both ways in a + pattern.  These didn't cost too much to mail as they were thing so qualified as non-machinable envelopes as opposed to packages.

I got this decorative tape for Christmas, and thought it went great with the hot-air balloon, so I used to tape on the card that held the postage and address (then reinforced it with packing tape)


The fronts of the smaller calendars after being reinforced with tape. 


The card I sent with this one pretty much covered the whole back, this new tape also went well with calendar and was covered with packing tape as well.


The card for the car one was a little smaller, but the car stamps coordinated well with the back

I have tried to mail a couple other things in the past, just attached to the back of a card I was already sending.  They were thicker, so it cost package prices, but still under 13 oz, so I could just check to see how much the postage would be on USPS.com and then attach stamps and mail


This was a Hot Wheels car that I just left in the package and securely taped around the edges with packing tape to attach it to the card as you can see from this photo below I share before.


Decorated with snow to match the snowmobile Hot Wheel.


This was an ornament if I recall correctly.  We just wrapped the box then attached to the envelope with a good deal of packing tape.

I believe that for all of these I heard that the safely arrived.  It just seems like a funner way to mail things then a boring box or envelope...although I find all mail fun!


The name “Smiles Sent Saturday” denotes my hope these things I mailed made the people who got them smile.

January 8, 2015

Decorated for the Championship Game!

We were all quite excited...and after all that's happened this season a little surprised when our Ohio State Buckeyes made it to the National Championship game next week.  So, spare time this week was spent making Buckeye candy and decorating for the game. I made the traditional ones as no one watching with us, but I do have a recipe for No Sugar Added/Sugar Free Buckeyes posted on another family blog: Nurturing Cuisine, if you're interested in thtaDidn't have too many decorations, but I did the TV screen area.  Due to our opponents being the Oregon "Ducks" I went with a combination of Ohio State Buckeyes & duck hunting


The Buckeye part of the decorations, Buckeye football, cheerleader bear, and, of course, actual Buckeyes nuts.


This is the lights on in the photo above, they are shotgun shells.  We got them on clearance one year, but moved to from the country into a suburb, so haven't got to use them as I'd like, so was excited to get to use them now.


And this is probably my favorite part: the" duck hunting license" I made up.  I put a photo of it below in-case there are any fellow Buckeyes who'd like to use it

#GoBucks National Championship Football game Jan 12, 2015

8x10 photo:
License for Buckeyes to hunt ducks
If you'd prefer, here's a PDF of the Duck Hunting License  

Go Bucks!!!  Hunt Ducks!!!  O-H-

January 3, 2015

Smiles Sent Saturday~January 3, 2015

A new year, means New Years cards, here's how some of my envelopes turned out this year, I tried to match them to the theme of the cards enclosed.  I thought it was interesting how I ended up using stamps of 5 different designs!

This card had a group of animals around a tree, so this is their tracks in the snow getting to the tree.

The card a pocket watch-super easy to make with a round stencil


This is how trees were depicted in the winter scene on the card


I especially liked how this one came out!  The card had trees and a house on a hill in the background.  I'm really loving using the silver Sharpie for snow!  


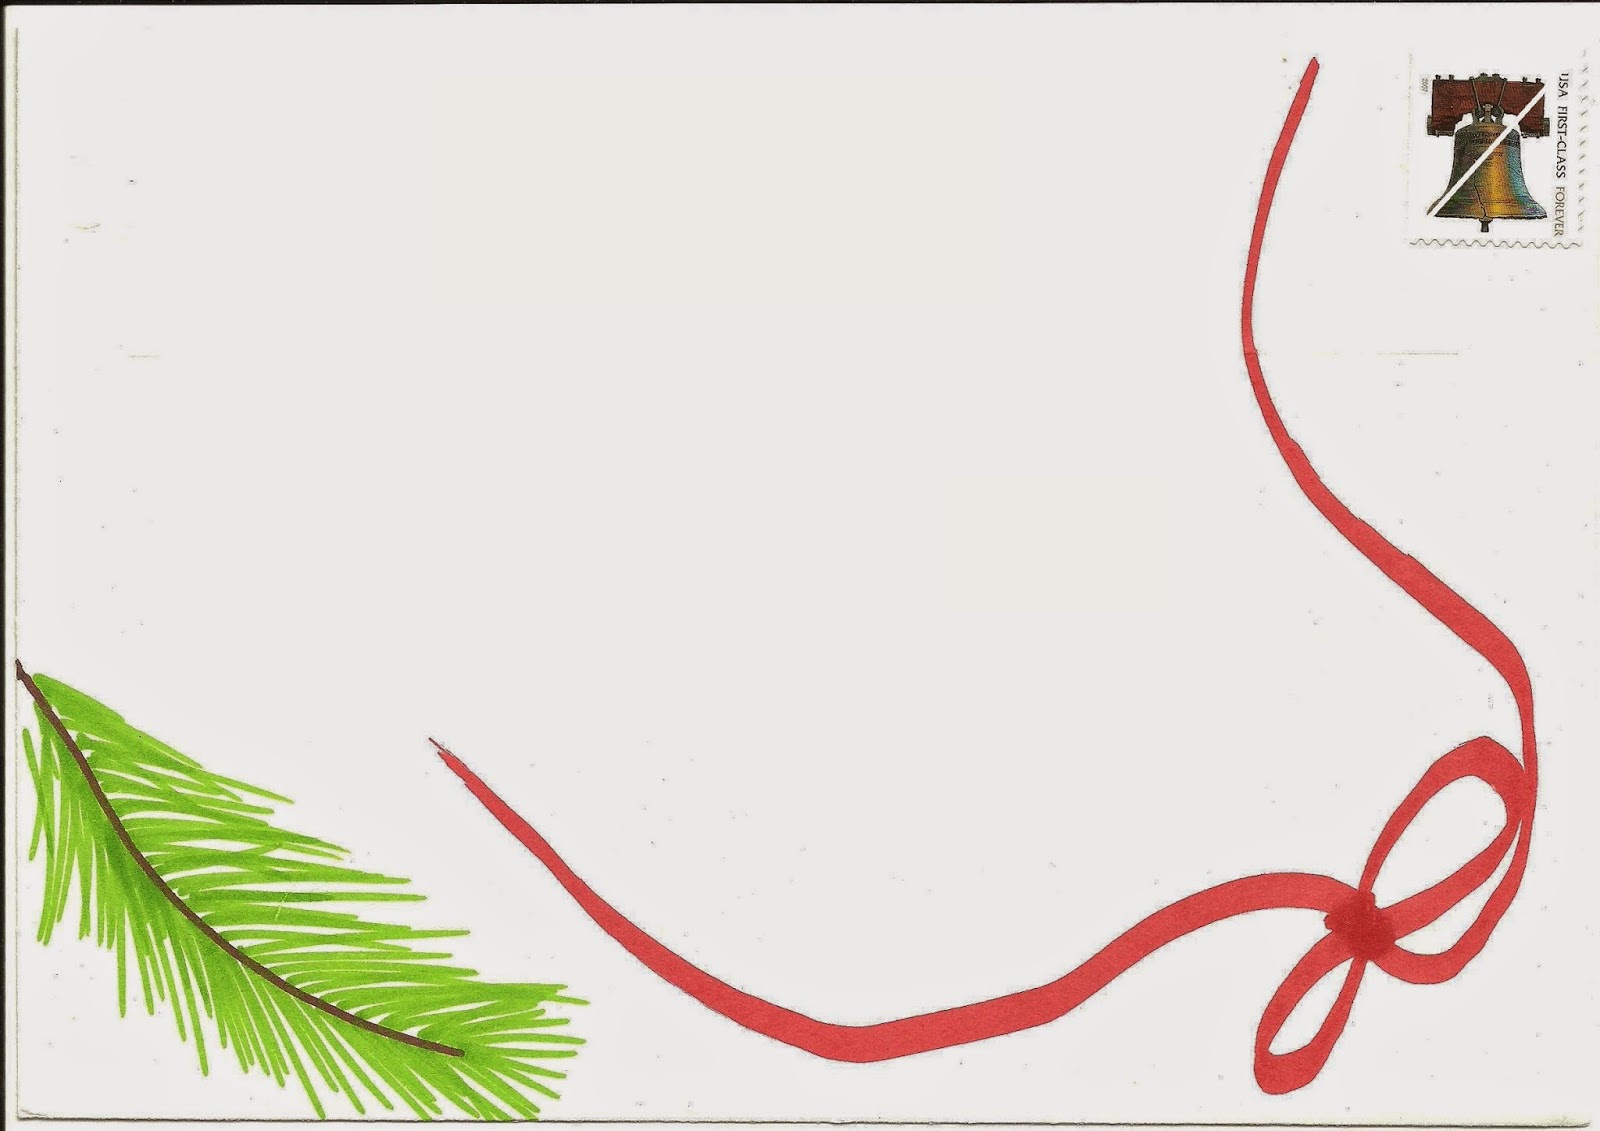
This ribbon was also on the card


A sunset scene mirroring the card.  In addition to black and silver markers I used highlighters to make the sky.


A stenciled and slightly added to snowflake.


This was for the same card as the first envelope, but to a different recipient, I did the tree I figured out how to draw easily this year.  To see a tutorial on how to easily draw a pine tree.


Be sure to check back next week when I hope to have a report on a fun way I mailed something to celebrate the new year...


The name “Smiles Sent Saturday” denotes my hope these things I mailed made the people who got them smile.

December 27, 2014

Smiles Sent Saturday~12/27/14

Mailing cookies to a few dear, but far off family members has become a tradition the past few years.  This year we went simple-flat rate boxes!  But we jazzed them up a bit with stencils.  We also packed the cookies in oatmeal boxes and cushioned them with pages from Christmas catalogs to make it more festive.


Last year we went all mail themed:


Card and matching tissue paper


This is the general idea of how the box was to look...

December 25, 2014

Nutcracker Themed Envelope

This is a recent envelope I did.  This stamp from the Vintage Circus Posters set reminded me of a ballerina and one of my aunts is fond of The Nutcracker, so I thought it was a perfect theme for this time of year.  I did a little research and discovered that there are three main sets/scenes, so I divided the envelope into three panes with "Stage curtains" to divide it.  I used highlighters, markers, colored pens, metallic & paint markers and colored pencils as well as a few stickers.  Not perfect, put quite cute I think.

Nutcracker Envelope

I thought the part that turned out the best was the tree, I've played around with drawing pine trees this year, you may have seen my earlier version in my December 13 Smiles Sent post.  I finally settled on giving a light background with a highlighter, drawing random branch bases with a fine tipped brown marker, then came back with a green pen and added needles.  Rather easy yet a nice effect.

Also, as it's Christmas day, I thought I'd share a photo of my "mail-able" gifts!  I really like to get this kind of things, you can see from the photo at the bottom of this post from 2012!

December 23, 2014

Christmas 2014 decorations

Welcome to a quick tour of our house decorated for Christmas

Just inside the front door.


Greeting card display.

December 20, 2014

Smiles Sent Saturday~12/20/2014


Just some random envelopes I decorated this year.  Not quite as exciting/complex as other's I've done, but still fun!


This was the card for one of the two Christmas cards we sent this year.


Just a couple more.  It's fun how many different stamps work for Christmas!  Hope everyone got their cards out-happy mailing!


The name “Smiles Sent Saturday” denotes my hope these things I mailed made the people who got them smile.

December 13, 2014

Smiles Sent Saturday~December 13, 2014


Here's a recent envelope I did of a winter wonderland.  This is the first time I've really incorporated the stamp into the "scene" of the envelope.  I did the front with brown permanent markers, green pen, white paint marker and stickers, I used washi tape and a sticker on the back.

 I was trying to match a paper I have of a lighted tree in snow.   You can see some of the paper and another anther way I decorated an envelope for it in my old post Christmas Envelope.  You can see I was a bit of a rookie at decorating envelopes then, but I think it was still cute!

The name “Smiles Sent Saturday” denotes my hope these things I mailed made the people who got them smile.


December 10, 2014

Great mail month-November 2014

Well, last month was a great mail month!  Since I had a milestone birthday that month my family "invited" a lot of extended family and friends to a card party.  A handful of mail with many different stamps and postmarks was fun!
  Below is all the cards I received set up in our dining room!  I was so surprised by how many it was!  You can see it was way more birthday cards than last year, in my Monthly Mail ~ 2013.  I tend to send more mail than I get, so it was fun to be on the receiving side.  Plus some of the senders mentioned how much they liked getting mail from me.
Happy writing!